How To Make Upload Image use volley In Android Studio - MR Brohid Blogs
Content articel :
- Create Upload Process with PHP
- Create New Project in Android Studio
- Add Library Volley
- Make a Layout View
- Proccess Upload Image use Volley
- Setting Manifest in Android Studio
- Running App in Mobile Device
Assalamu'alaikum Wr. Wb.
Greetings to all of us, see you again at Mr.'s blog Brohid this time I will share knowledge for you about How To Make Upload Image use volley In Android Studio. For this article I share knowledge if you get problems or confusion in how to upload images on Android Studio. For more details, please read the first process.
1. Create Upload Process with PHP
In this first process we will make the process of uploading the image with the PHP editor language. To process the Source Code you can see below:
Source Code :
After we make the upload process with PHP, Please create a new folder to save the photos that you uploaded and give the name of your folder with photos or according to your wishes.
2. Create New Project in Android Studio
To create a new project in Android Studio, please open the Android Studio application. Then the initial display will look like the picture below:

Please select Start a new Android Studio Project, to create a new project.

Enter the appropriate Application name you created and the Company domain according to your play, then click the Next button.

Select the Form that we will use to run the application. Here we use the phone and table after that select SDK for the minimum android.
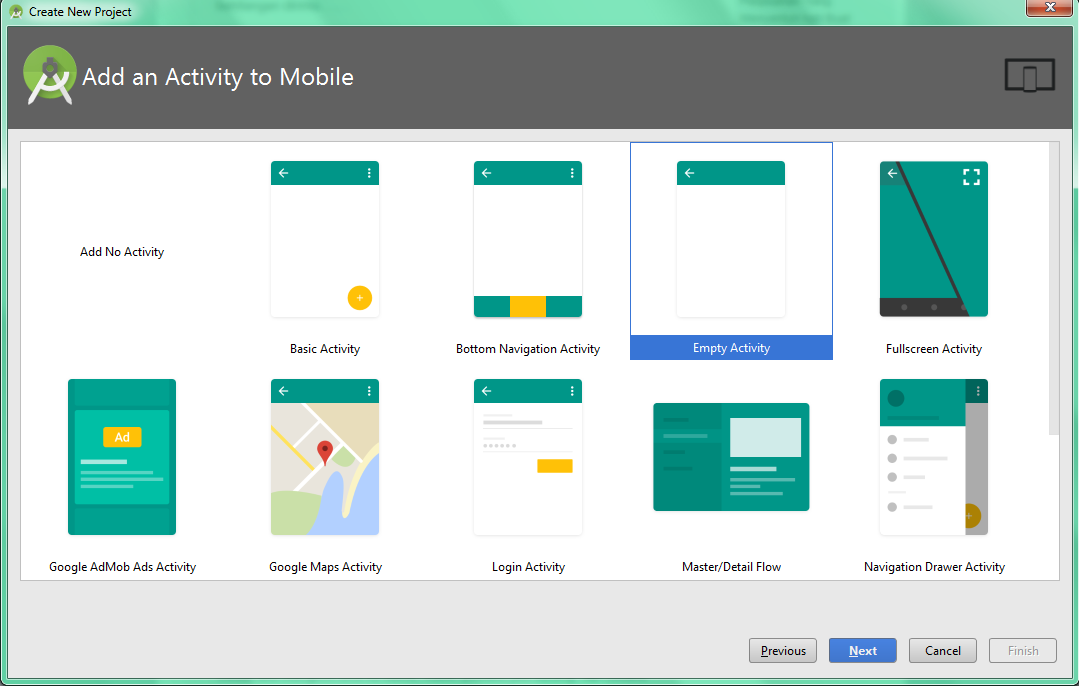
Select the Activity that you will use to design the Android layout. Here I use Empty Activity so that we can design according to our wishes. After that, click Next to continue the process.

Then you name your Activity according to your wishes and then click Finish to create a new Project on Android Studio.
3. Add Library Volley
implementation 'com.android.volley:volley:1.0.0'
4. Make Layout View
This fourth process, we will make a display design for the layout, you can design it according to your wishes and I will give an example of the design view to upload the image.
Source Code :
5. Proccess Upload Image use Volley
For the fifth process we make the process of uploading images with volley, below is the process of uploading images on android studio.a. Make Controller Volley
Please create a new class to create a volley controller and enter the source code below into the controller class.
Source Code :
b. Proses Upload Image use Volley in MainActivity
Please enter the source code upload image use volley in the MainActivity class.
Source Code :
6. Setting Manifest in Android Studio
Processed, please add android.permission.INTERNET, android.permission.READ_EXTERNAL_STORAGE, android.permission.ACCESS_NETWORK_STATE to Manifest.Example :
<uses-permission android:name="android.permission.INTERNET" />
<uses-permission android:name="android.permission.READ_EXTERNAL_STORAGE" />
<uses-permission android:name="android.permission.ACCESS_NETWORK_STATE" />
And add android:name for application and change controller a your make.

7. Running App in Mobile Device
If all the above processes are complete, please run them on your device.
So, from my articles I hope it will be useful and can help you in solving your problems and don't forget to read my other articles, thank you
Wassalamu'alaikum Wr. Wb.


No comments:
Post a Comment